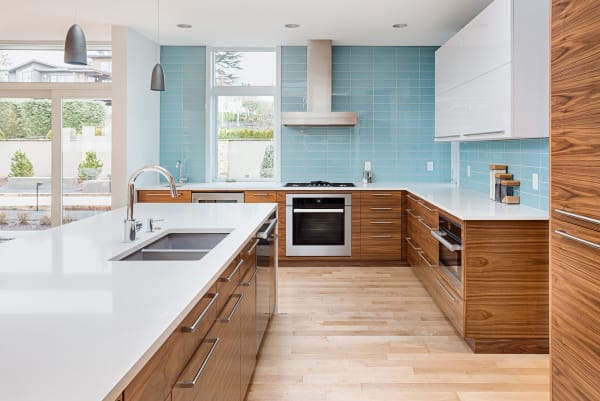
A kitchen or bathroom makeover often comes down to the details, and few details are as transformative as a beautifully tiled backsplash. Not only does it protect your walls from splashes and spills, but it also adds a touch of personality and style to the space.
If you're ready to elevate your space with a bathroom remodel or kitchen remodel in Burnsville, MN and Twin Cities with a stunning tile backsplash, you're in the right place. We'll walk you through the step-by-step process of how to install backsplash tile like a pro.
How to tile a backsplash
Gather your tools and materials
Before diving into the installation process, ensure you have all the necessary tools and materials on hand. Here's what you'll need:
- Tiles in Burnsville, MN from Infinite Floors and More
- Tile adhesive
- Tile spacers
- Tile cutter or wet saw
- Notched trowel
- Level
- Grout
- Grout float
- Sponge
- Bucket
- Tile sealer (if necessary)
Prepare the surface
Proper preparation is key to a successful tile installation. Start by cleaning the wall surface to remove any grease, dirt, or debris. Next, ensure the wall is smooth and free of imperfections. If necessary, sand down uneven areas and patch any holes or cracks with spackling compound. Once the surface is clean and smooth, use a level to mark a guideline for the bottom edge of your backsplash.
Apply the tile adhesive
Using a notched trowel, spread tile adhesive evenly onto the wall surface within the marked guidelines. Work in small sections to prevent the adhesive from drying out before you can apply the tiles. Make sure to use the correct adhesive for your tile type and substrate.
Install the tiles
Carefully press each tile into the adhesive, using tile spacers to maintain even grout lines. Work from the bottom up, pressing firmly to ensure good adhesion. If necessary, use a tile cutter or wet saw to cut tiles to fit around obstacles like outlets or corners. Double-check your work with a level to ensure the tiles are straight and even.
Allow the adhesive to cure
After all the tiles are in place, allow the adhesive to cure according to the manufacturer's instructions. This typically takes at least 24 hours, but it's important to follow the specific guidelines to ensure proper bonding.
Apply grout
Once the adhesive has cured, it's time to grout the tiles. Mix the grout according to the manufacturer's instructions, then use a grout float to spread it evenly over the tiles, working it into the joints at a 45-degree angle. Remove any excess grout with the float, then wipe the tiles clean with a damp sponge before the grout has a chance to dry.
Seal the grout (if necessary)
Depending on the type of grout you used, you may need to apply a sealer to protect it from stains and moisture. Follow the manufacturer's instructions for the proper application technique and drying time.
Congratulations! You've successfully installed a stunning tile backsplash that's sure to enhance the beauty and functionality of your kitchen or bathroom. With proper care and maintenance, your new backsplash will continue to impress for years to come.
Visit Infinite Floors and More for quality tile and installation services
For professional assistance with your tile installation or for high-quality flooring products, visit or contact Infinite Floors and More in Burnsville, MN. Serving Burnsville, Lakeville, Prior Lake Savage, Apple Valley, and the Twin Cities Metropolitan area since 2015, Infinite Floors is your trusted partner for all your flooring needs. Choose quality, choose expertise—choose Infinite Floors and More.


